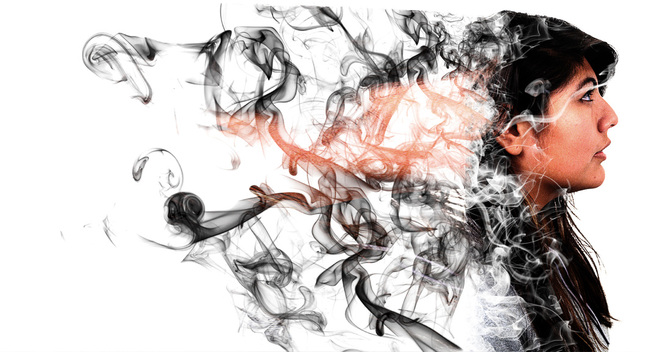
Dispersion Effect
|
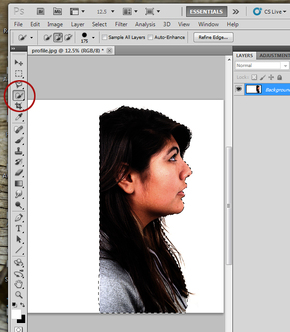
Step 1: Select the figure to be dispersed using the Quick Selection tool and copy it to the clipboard (Ctrl C).
|
|
|
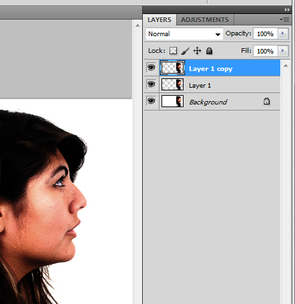
Step 2: Paste the copied figure down into the image two times by clicking Ctrl J twice.
|
|
|
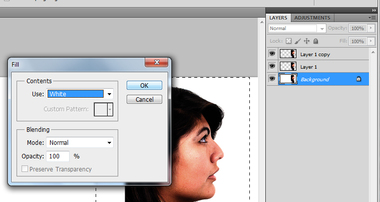
Step 3: Click on the background layer and remove the figure from the image by selecting the figure and filling it with the background color. In this case, it's white, but if the background contains detail, use "Content Aware" to fill in.
|
|
|
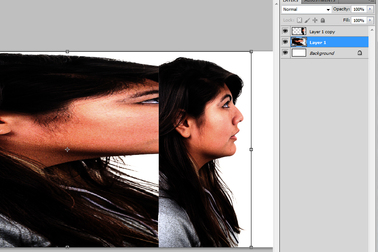
Step 4: Use the transform tool (Ctrl T) to stretch out the figure in layer 1 in the direction of the dispersion.
|
|
|
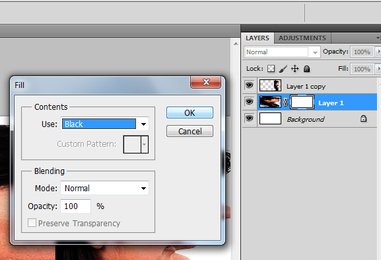
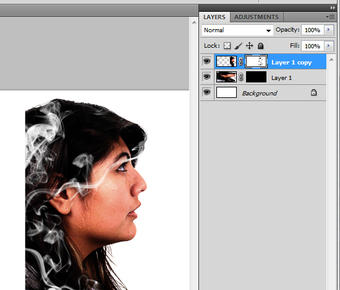
Step 5: Add a layer mask to the stretched out layer and fill it with black by pulling down the Edit menu to Fill and selecting black.
|
|
|
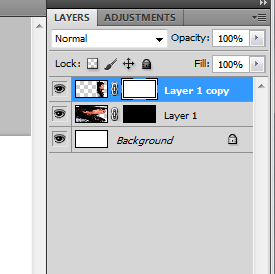
Step 6: Add a layer mask to the topmost layer containing the figure.
|
|
|
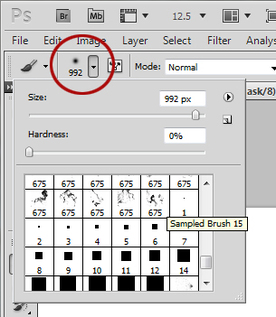
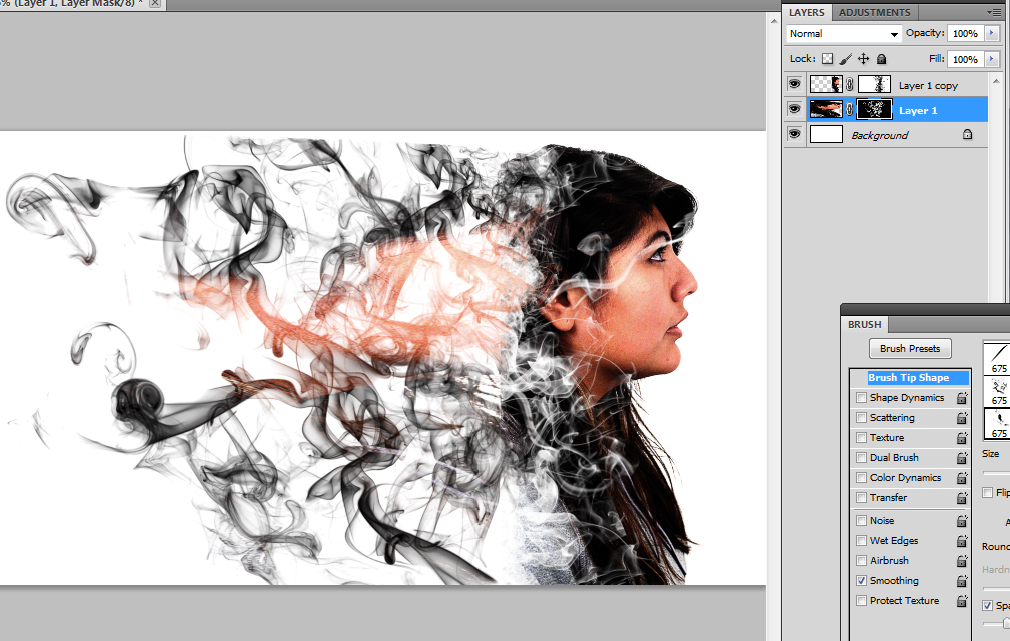
Step 7: Select the brush tool from the toolbar and choose a brush to create your dispersion effect by pulling down the brush options menu (circled).
|
|
|
Step 8: Change the brush dynamics/rotation/scattering effect to randomize the look of the brush.
|

|
|
Step 9: Select black as your foreground color in your tool bar and paint in the white layer mask of the topmost layer to remove parts of that image.
|
|
|
Step 10: Select white as your foreground color and paint in the black layer mask of the stretched out layer to create the dispersion effect.
|

|
|
Step 11: Continue working in both layer masks until the desired effect is achieved. If you need to start over in either layer, click on the layer mask and refill with either black or white.
|
|
